Dies ist eine alte Version des Dokuments!
Path: Main menu > Project > Print/Preview…
Path: Context menu Diagram (right mouse button) > Print process…
The command Print is located in the menu at the item Project.
The print dialog is divided into six subsections. Generally, it can be summarized that every subsection can be dropped out, so that only the required information will be printed. When pressing the button Page settings…, the margins and paper sizes will be defined. At the same time it is possible to view the print preview.
General Settings
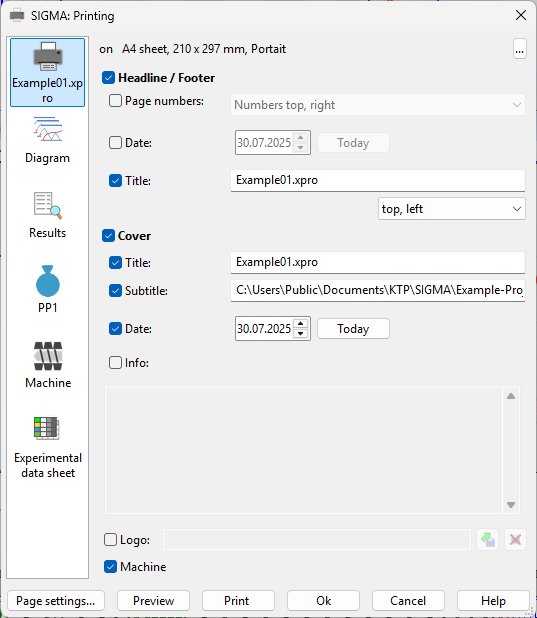
Within the general settings (cf. figure) the user can define the general formatting of print documents. Beside determining the pagination within the header and footer area, the title of the document can be selected here. Further, the design of the front page can be selected at this point. The user can define a subtitle, a date, an information text as well as a company logo. If a certain information should not be printed, it can be dropped out at the user's option.
Diagram
Path: Main menu > Project > Print/Preview…
Path: Context menu Diagram (right mouse button) > Print diagram…
Within the print settings for diagrams (cf. figure), every diagram to print will be selected. If there are defined new diagrams among Option, Diagram, Diagram, these will be indicated in the data sheet as well. How user-defined diagrams can be determined, will be described in chapter Options.
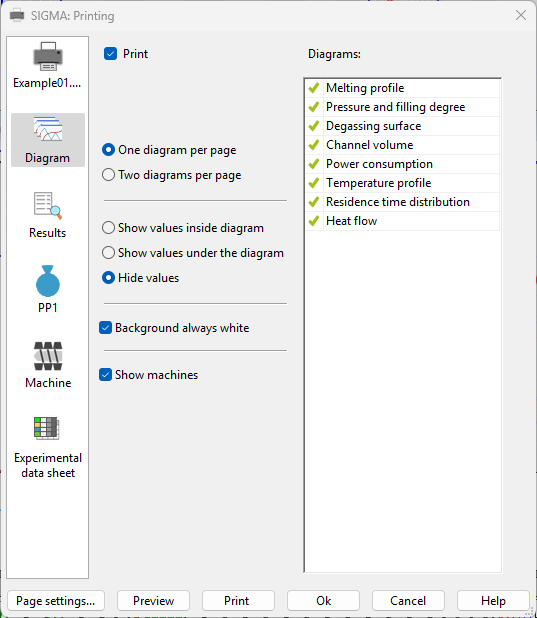
The user can additionally define whether one or two diagrams per page shall be printed. The value data sheets of the ongoing processes can be printed either separately or inside the diagram. If it is requested to choose a white background instead of the SIGMA color, the user is able to perform it in the settings. While putting a checkmark to „Show only non-hidden machines“, every diagram of the related machine will be printed.
Results
Path: Main menu > Project > Print/Preview…
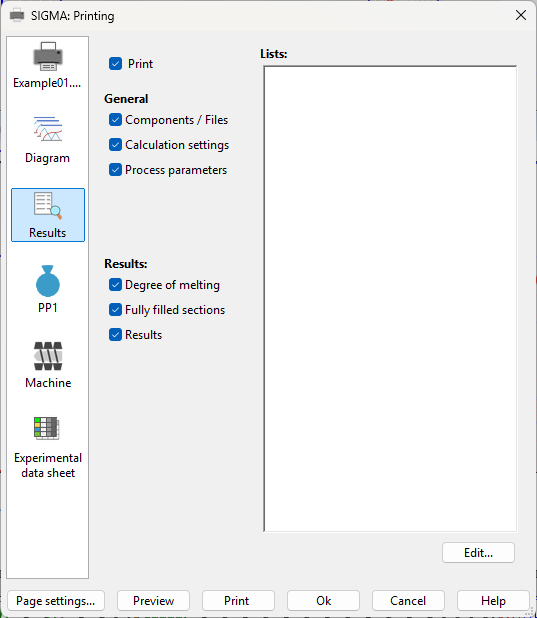
In this printing section (cf. figure) the user chooses the result data sheet which shall be printed. Here, the used process data, the calculation settings and the procedural parameters can be dumped out. Moreover, the user can decide whether he will get information about the melting of the solid areas and of results.
Material
Path: Main menu > Project > Print/Preview…
Path: Main menu > Material > New polymer… Button: Print…
Path: Main menu > Material > New polymer (blend)… Button: Print…
Path: Main menu > Material > New filled polymer… Button: Print…
Path: Main menu > Material > Edit material (file)… Button: Print…
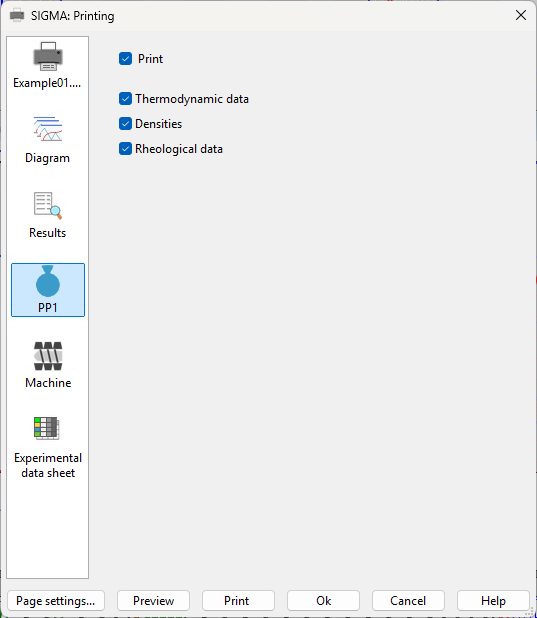
For every kind of material the user can print the thermodynamic and rheological data as well as the Density with the overall related mathematical interrelations (cf. figure).