Dies ist eine alte Version des Dokuments!
Installation
SIGMA Setup
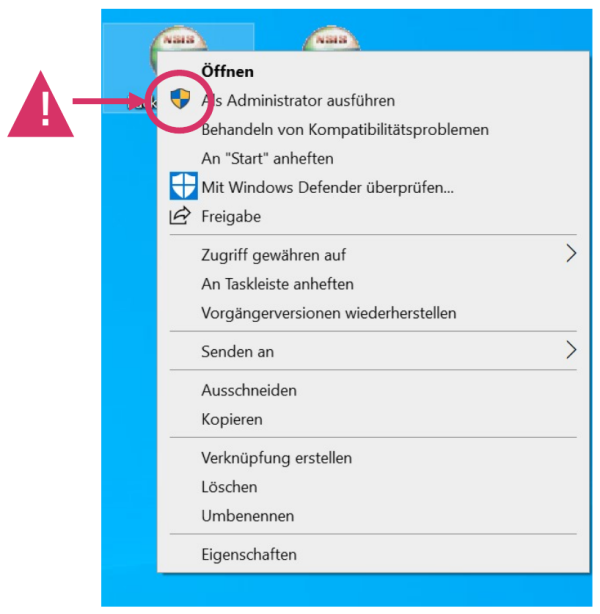
Please start SIGMA_package_setup.exe with administrative privileges (right-click → “Run as administrator”). This ensures that all required components (e.g., services/drivers) are installed correctly.
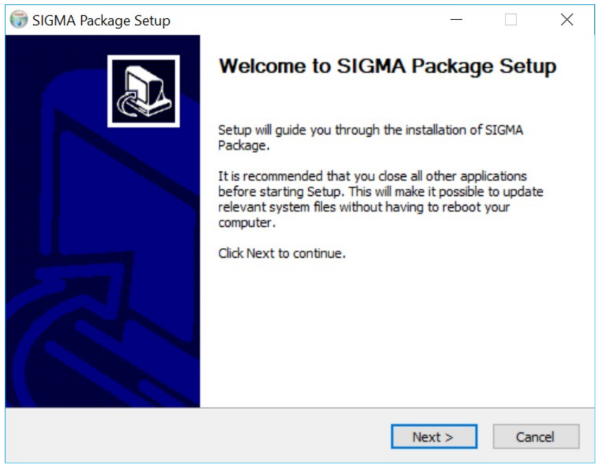
In the welcome screen of the SIGMA Package Setup, the installation routine is prepared. Close other programs if possible and click “Next” to continue.
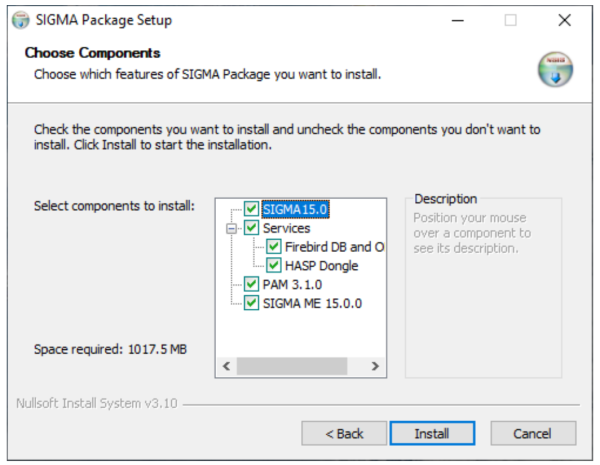
Now select the components you want to install. For a complete installation, the default components should remain enabled (e.g., Services including Firebird DB/ODBC, PAM 3.1.0, SIGMA ME 15.0.0). Then start the installation by clicking “Install”.
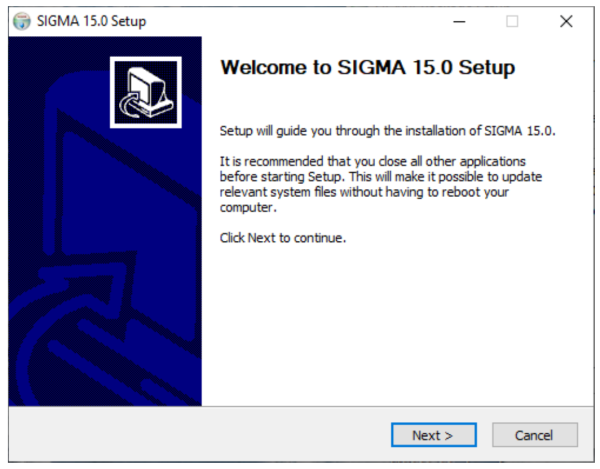
After selecting the components, the actual SIGMA 15.0 Setup Wizard starts. Click “Next” to begin the installation.
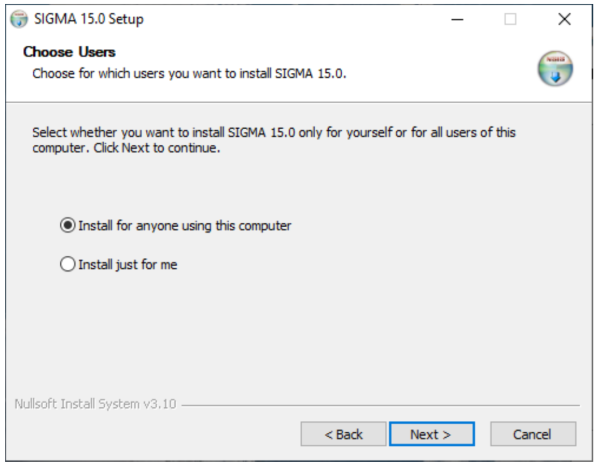
Select the installation type: - “Install for anyone using this computer” → installs for all users on this PC (recommended for shared workstations) - “Install just for me” → installs only for the currently logged-in user Then click “Next”.
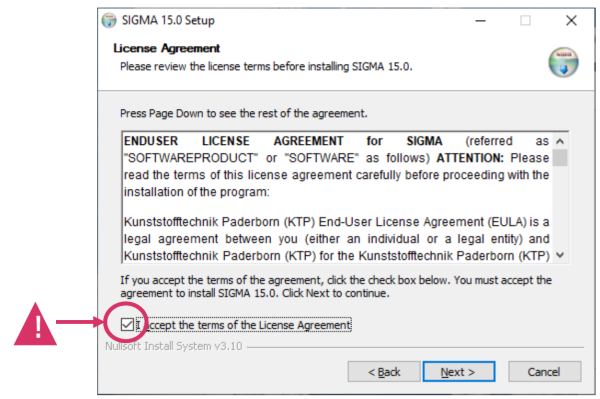
Read the license terms. Enable the option/checkbox to accept the license (License Agreement) and then click “Next”.
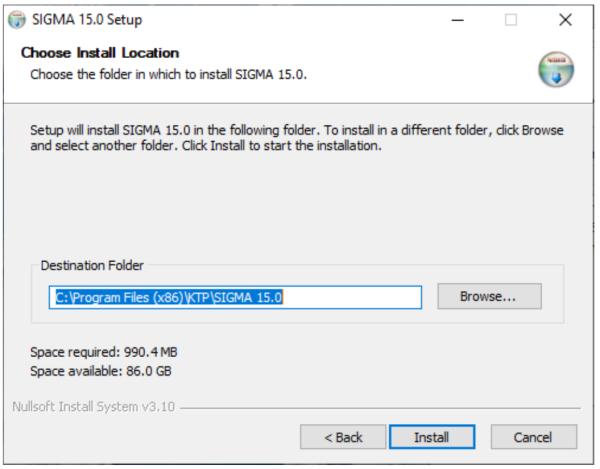
Select the installation folder. By default, SIGMA is installed to C:\Program Files (x86)\KTP\SIGMA 15.0 If required, choose a different path via “Browse…”. Then start the installation by clicking “Install”.
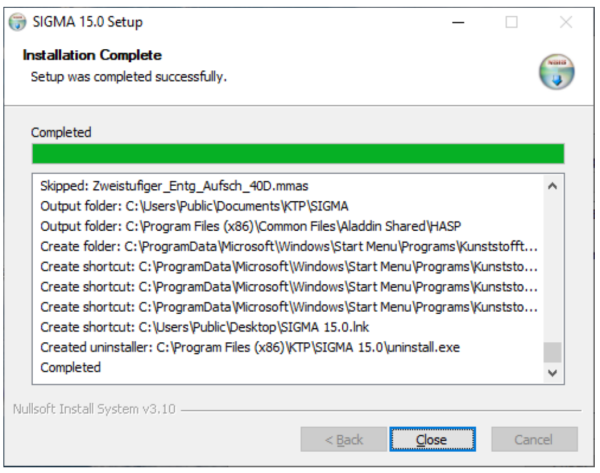
After a successful installation, the completion message “Installation Complete” appears. Close the wizard by clicking “Close”.
Firebird Service
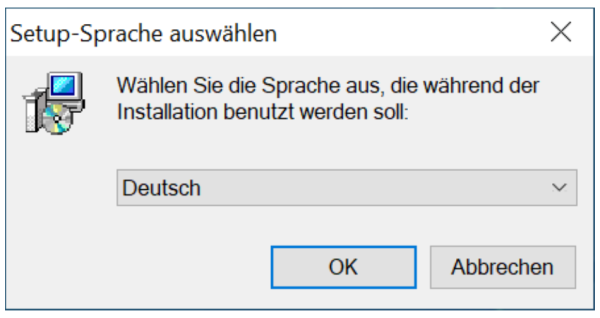
Select a setup language (e.g., Deutsch/German) and confirm.
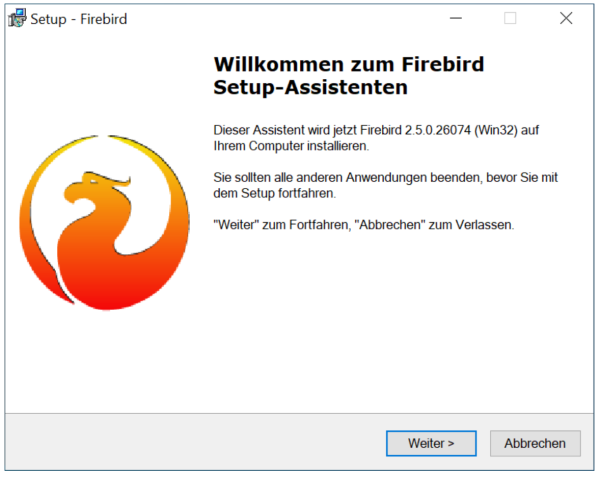
In the welcome screen of the Firebird setup wizard (Firebird 2.5.0.26074 (Win32)), click “Weiter” (Next).
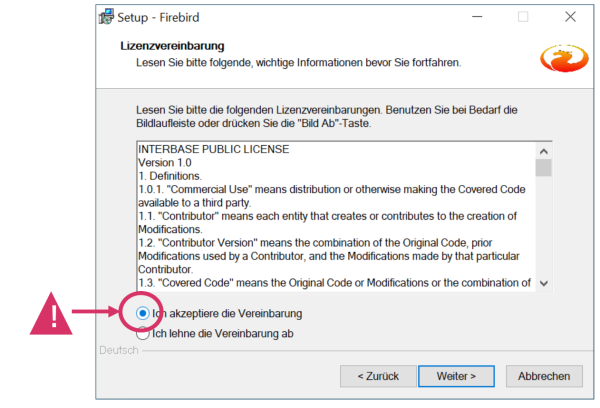
Read the license agreement and select “Ich akzeptiere die Vereinbarung” (I accept the agreement). Then click “Weiter” (Next).
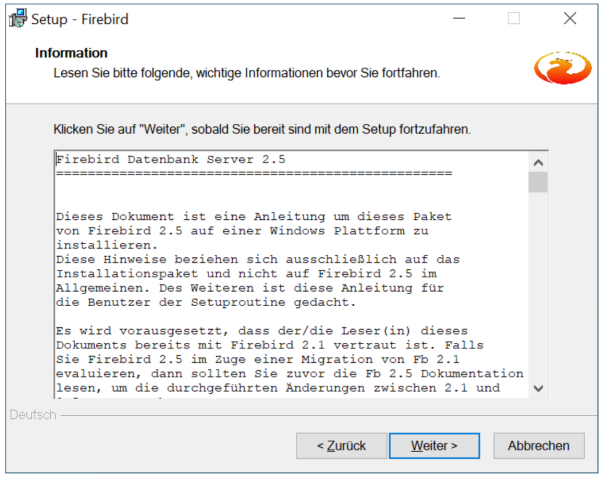
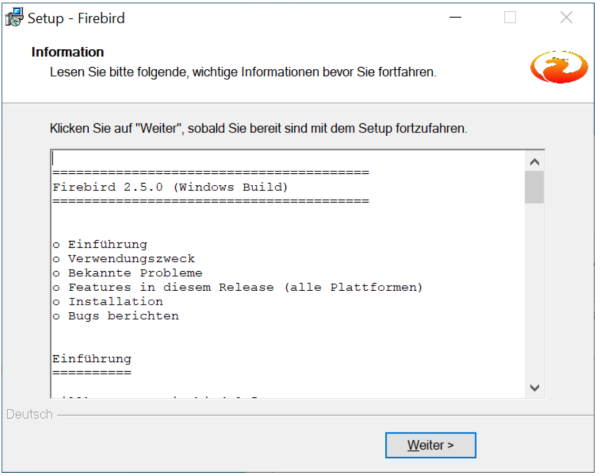
Read the notes/information and click “Weiter” (Next) to continue.
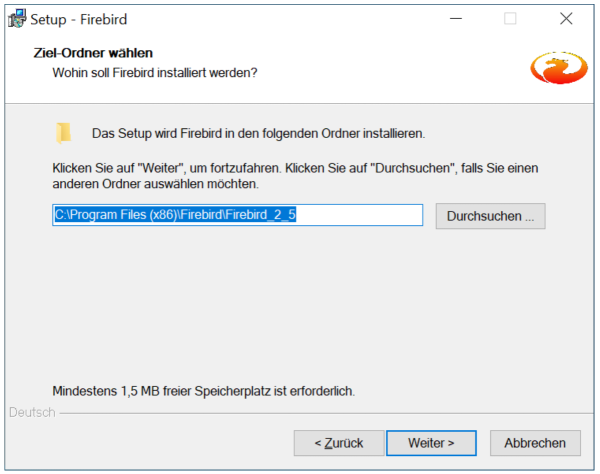
Select the destination folder. The default is: C:\Program Files (x86)\Firebird\Firebird_2_5 Confirm with “Weiter” (Next) (change only if necessary via “Durchsuchen…”/Browse).
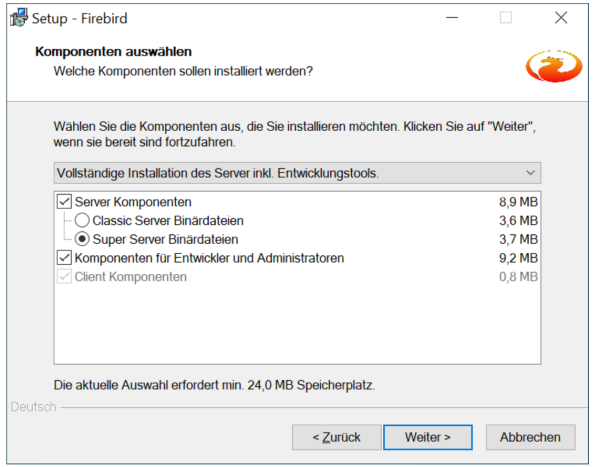
Under “Komponenten auswählen” (Select Components), keep the setup type as “Vollständige Installation des Server inkl. Entwicklungstools.” (Full installation of the server incl. development tools). Important: As the server component, “Super Server Binärdateien” (Super Server binaries) must be selected. Then click “Weiter” (Next).
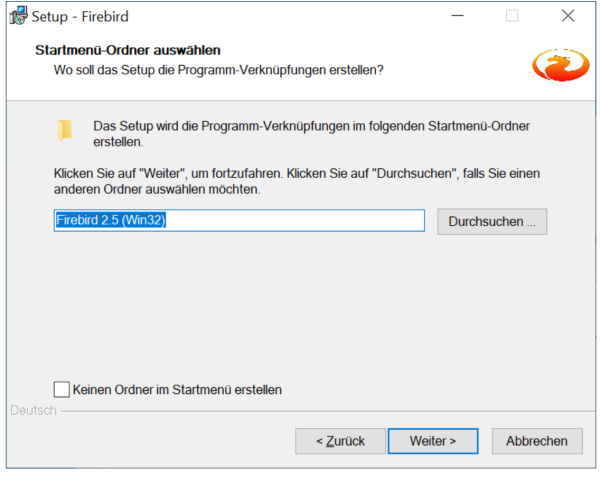
Define the Start Menu folder (default is typically “Firebird 2.5 (Win32)”) and click “Weiter” (Next).
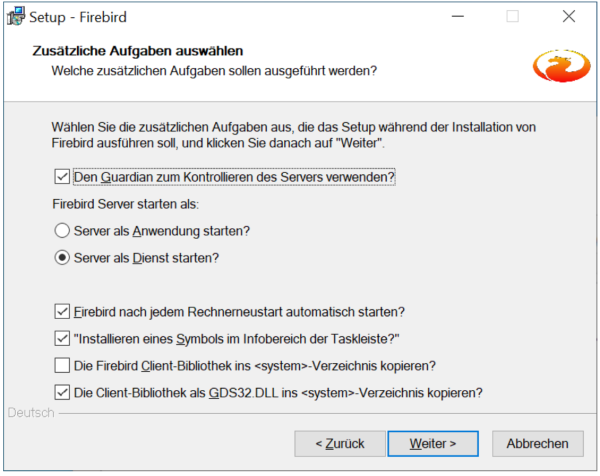
Under “Zusätzliche Aufgaben” (Additional tasks), make sure the following options are selected (as shown in the screenshot):
- Use the Guardian to control the server
- Start server as a service
- Automatically start Firebird after each reboot
- Install an icon in the notification area of the taskbar
- Copy the Firebird client library into the <system> directory (do not enable)
- Copy the client library as GDS32.DLL into the <system> directory
Then click “Weiter” (Next).
Start the installation by clicking “Installieren” (Install).
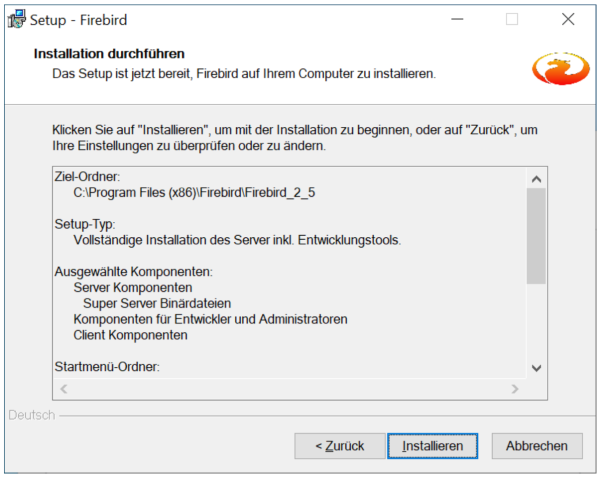
After installation, a notes/readme window may be displayed. Click “Weiter” (Next).
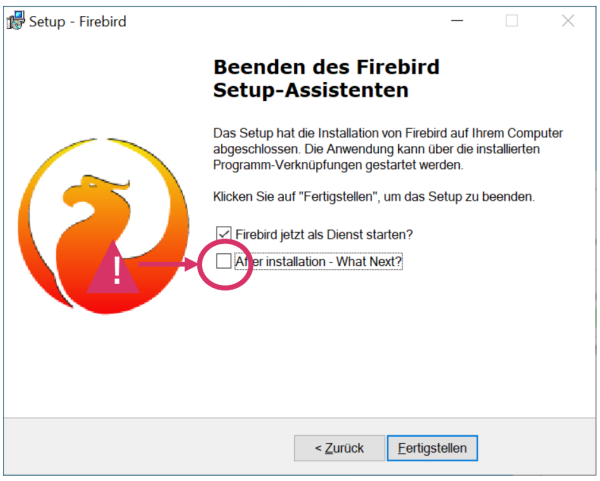
In the final window: - Keep “Firebird jetzt als Dienst starten?” (Start Firebird as a service now?) enabled - Disable “After installation - What Next?” (remove the check mark) Finish the wizard by clicking “Fertigstellen” (Finish).
Firebird ODBC Service
Start the Firebird ODBC Driver (2.0.5.156) setup and click “Next” in the welcome window.
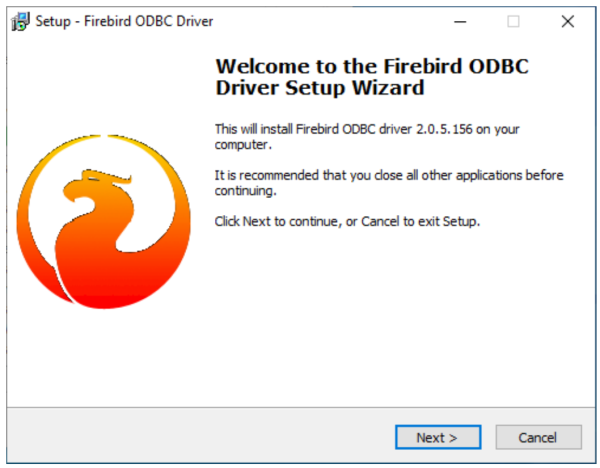
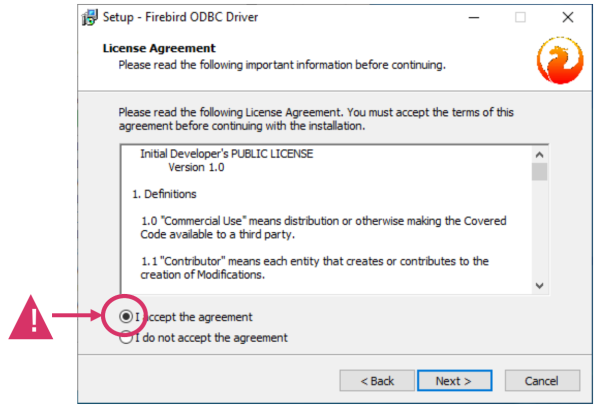
Accept the license terms (“I accept the agreement”) and click “Next”.
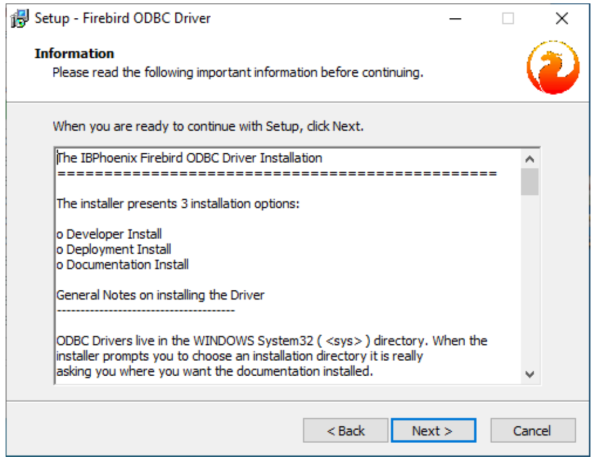
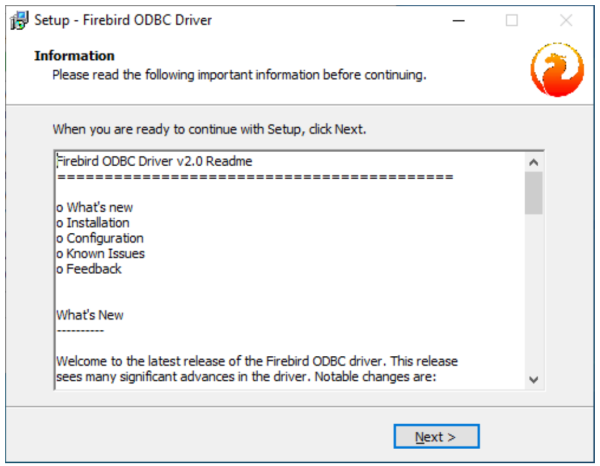
Read the installation information (notes about installation options) and click “Next”.
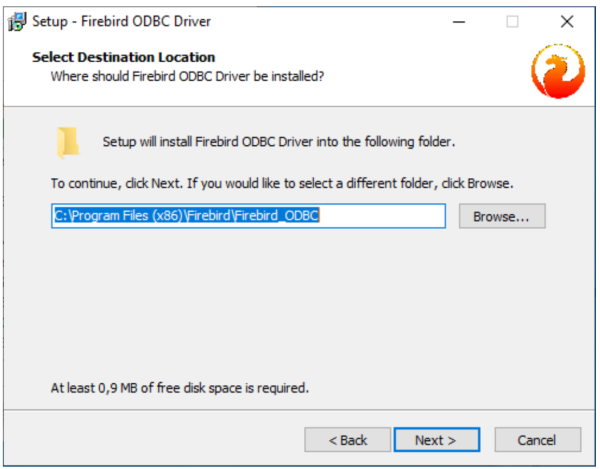
Select the installation folder. The default is: C:\Program Files (x86)\Firebird\Firebird_ODBC Confirm with “Next”.
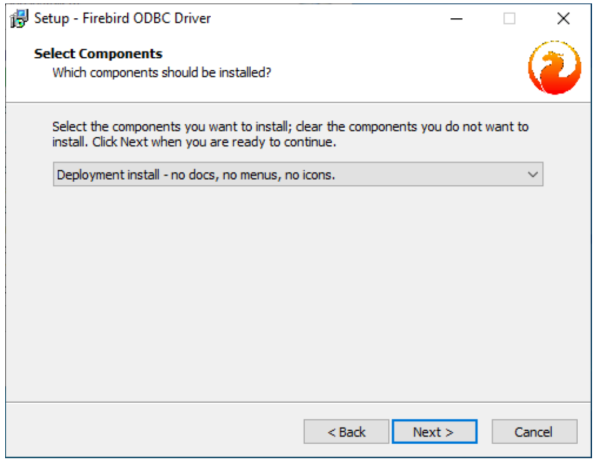
In “Select Components”, choose the setup type: “Deployment install - no docs, no menus, no icons.” Then click “Next”.
Confirm the Start Menu folder (default e.g. Firebird\Firebird ODBC Driver) and click “Next”.
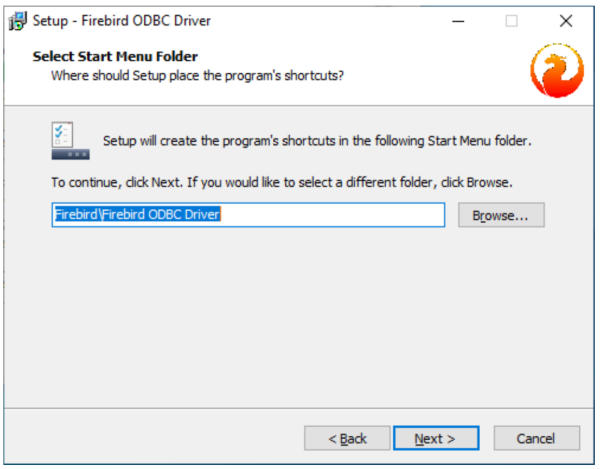
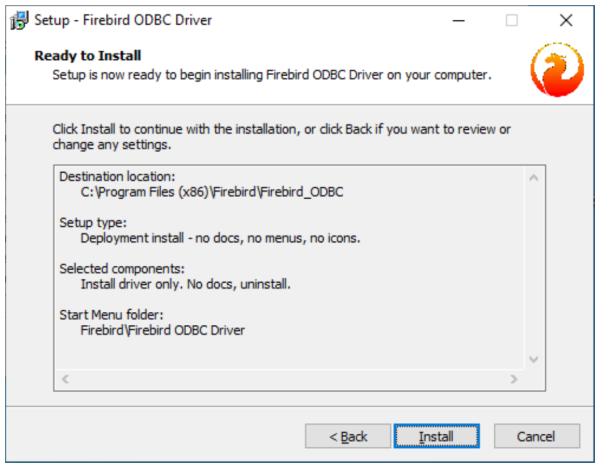
In the “Ready to Install” window, start the installation by clicking “Install”.
After installation, a readme/notes window may appear. Click “Next” to continue.
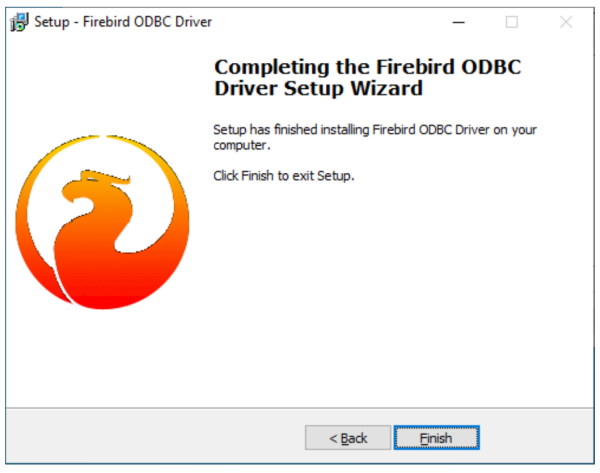
Finish the ODBC setup by clicking “Finish”.
HASP Dongle Setup – Sentinel Runtime
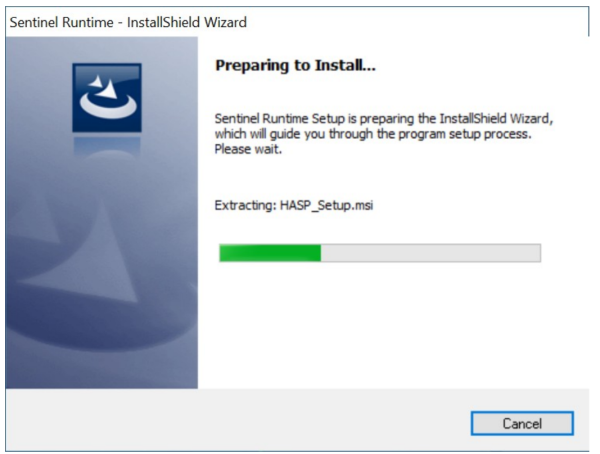
Wait until the InstallShield wizard has fully prepared the installation (unpacking / “Preparing to Install…”).
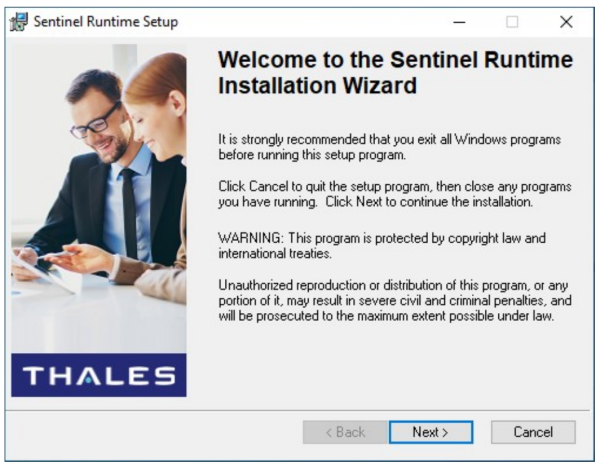
In the welcome screen, close any running programs if possible and click “Next”.
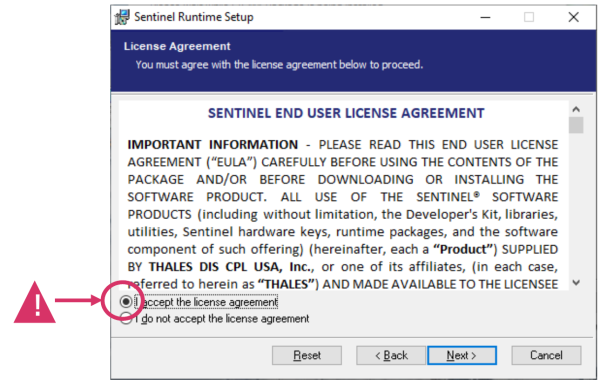
Accept the license terms (“I accept the license agreement”) and click “Next”.
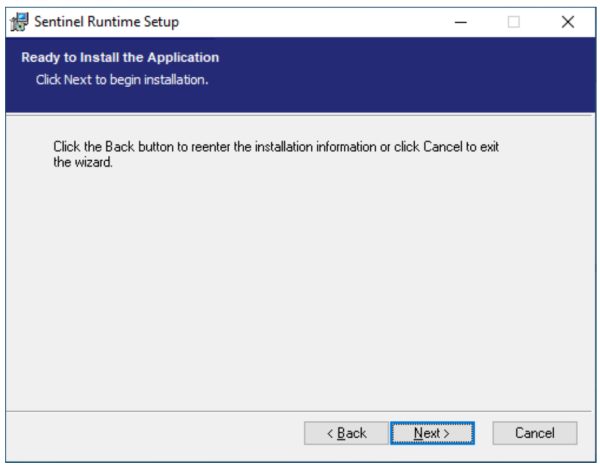
Start the installation by clicking “Next” (Ready to Install).
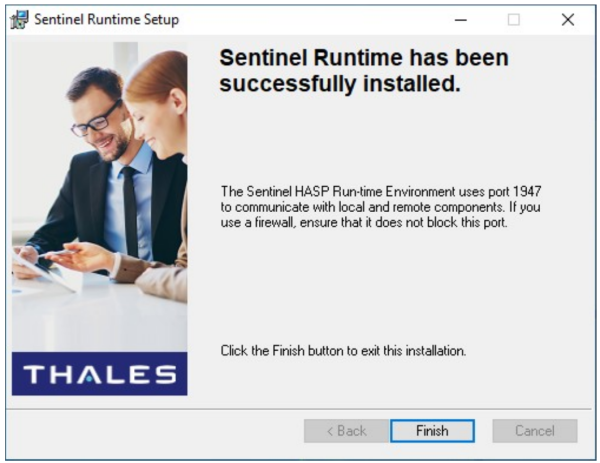
After a successful installation, click “Finish”. Note: The Sentinel HASP Runtime uses port 1947 for communication. Make sure a firewall is not blocking this port.
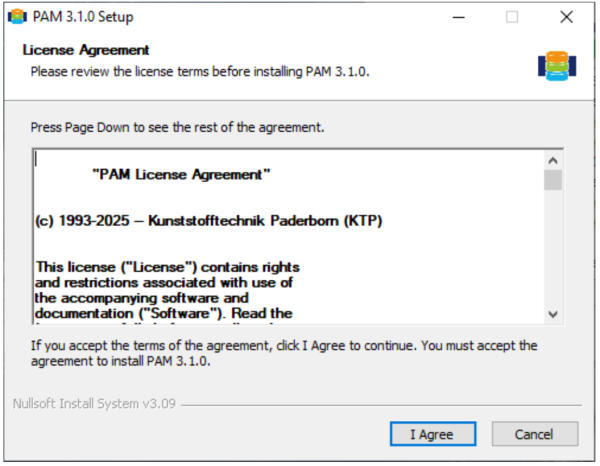
PAM 3 Setup
Read the license terms and confirm by clicking “I Agree”.
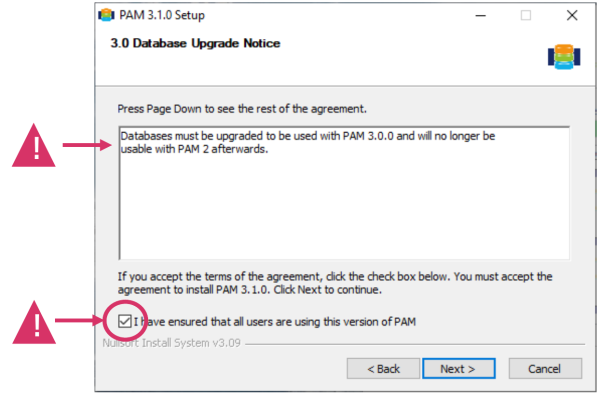
Important database notice: Databases must be upgraded for PAM 3.x and cannot be used with PAM 2 afterwards. Enable the checkbox “I have ensured that all users are using this version of PAM” and click “Next”.
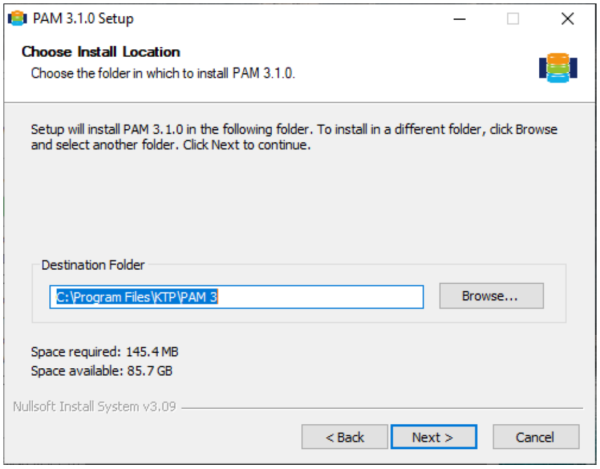
Select the installation folder. The default is: C:\Program Files\KTP\PAM 3 Confirm with “Next”.
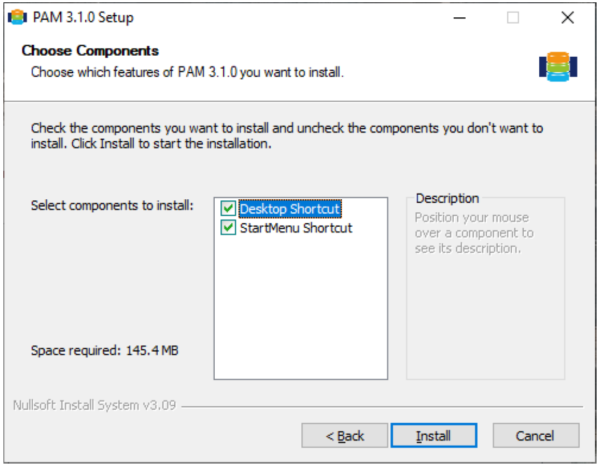
Select the components. Usually the shortcuts remain enabled: - Desktop Shortcut - StartMenu Shortcut Start the installation by clicking “Install”.
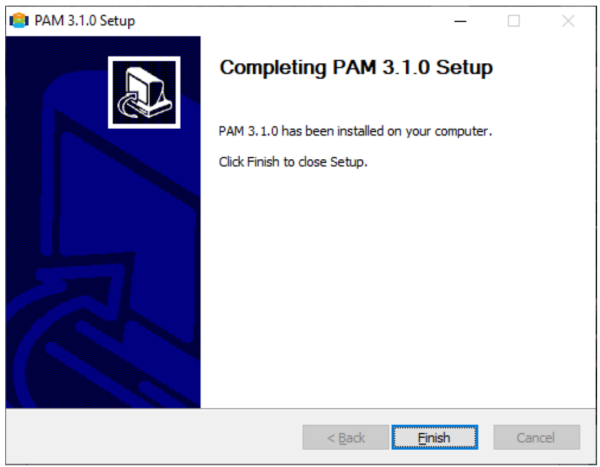
Finish the installation by clicking “Finish”.
SIGMA Machine Editor 15.0
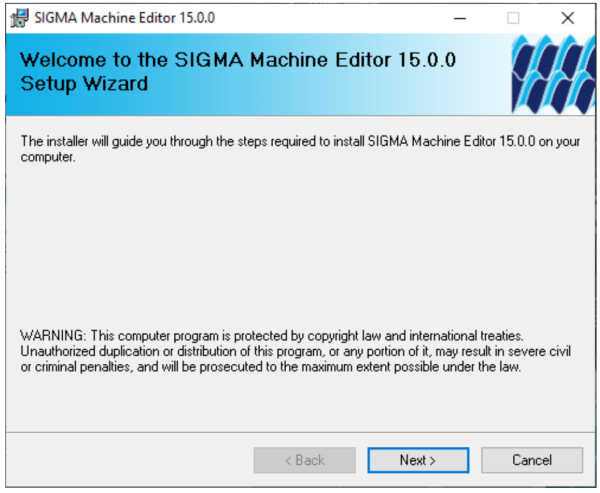
Start the installation wizard and click “Next”.
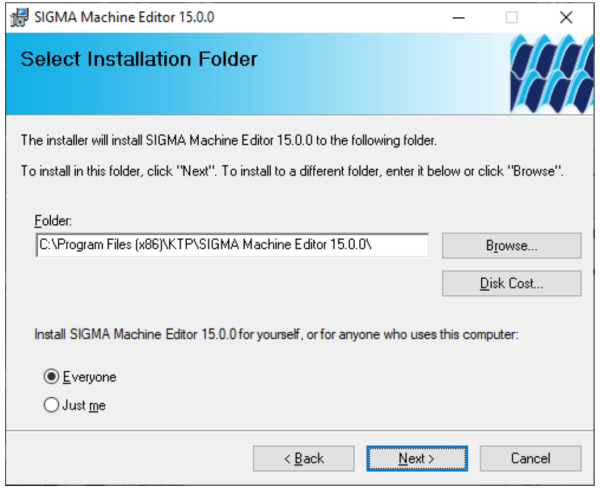
Select the installation folder (default): C:\Program Files (x86)\KTP\SIGMA Machine Editor 15.0.0\ Also select the installation scope:
- Everyone (for all users; recommended)
- Just me (current user only)
Then click “Next”.
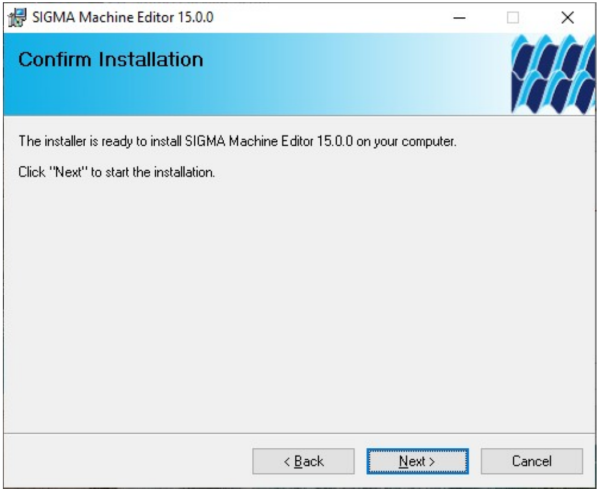
The installer is ready. Start the installation by clicking “Next”.
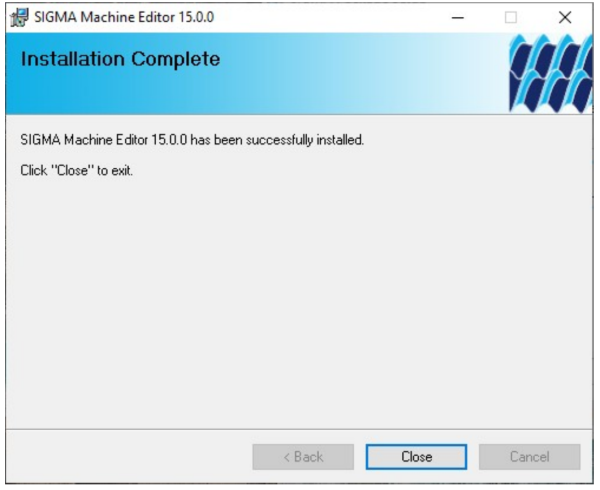
After a successful installation, close the wizard by clicking “Close”.
Default paths (SIGMA 15.0)
After installation, the default data can be found under C:\Users\Public\KTP\SIGMA (Windows paths are not case-sensitive). Typical paths are:
- Examples: C:\Users\Public\KTP\SIGMA\Example-Project
- Databases: C:\Users\Public\KTP\SIGMA\Database
- Meta machines: C:\Users\Public\KTP\SIGMA\MetaMaschinen