Extrud3D Installation

Extrud3D Installation

This guide describes how to install the Extrud3D 3rdParty/Dependencies package on a Windows system. During the installation, additional components (e.g., Microsoft MPI, GTK3 Runtime) may be installed automatically.

Prerequisites

  • Windows 11 (64-bit)
  • At least 32 GB RAM and 8 CPU cores
  • Local administrator rights (the UAC prompt must be confirmed)
  • At least 10 GB of free disk space
  • The Extrud3D 3rdParty/Dependencies installer is available locally. Download: <insert link here>

Installation

Start the setup and confirm administrator privileges

Launch the installer. Windows will display a security prompt (UAC).
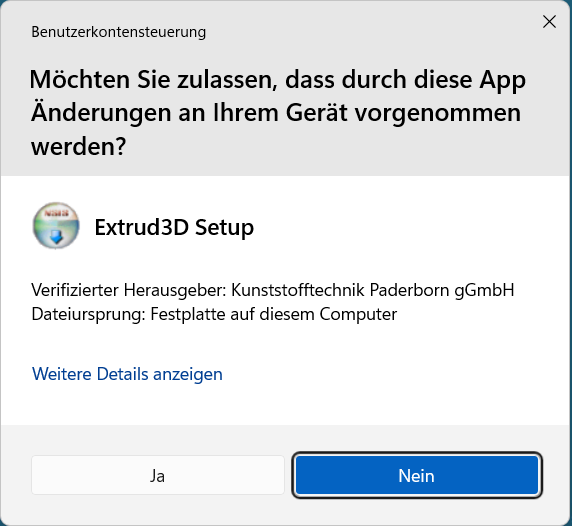
**UAC prompt:** “Extrud3D Setup” wants to make changes to your device — confirm with **Yes**.

Select the installation path

In the setup dialog, define the target directory for the Extrud3D 3rdParty installation.
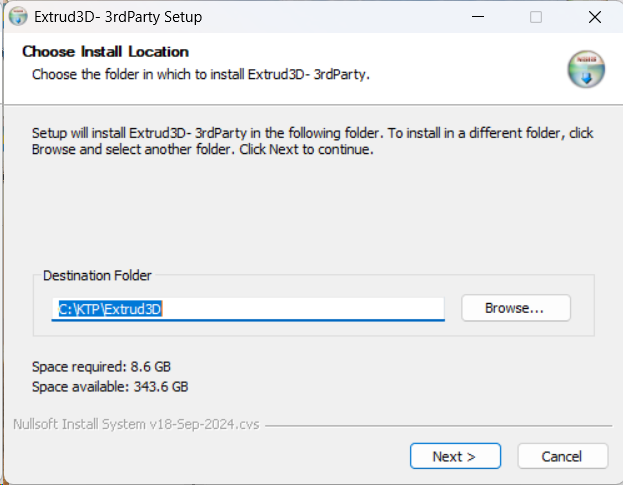
**Choose Install Location:** Default path (here **C:\\KTP\\Extrud3D**). Change via **Browse…** if required, then click **Next**.

Select components

The required dependencies are shown as a component list.
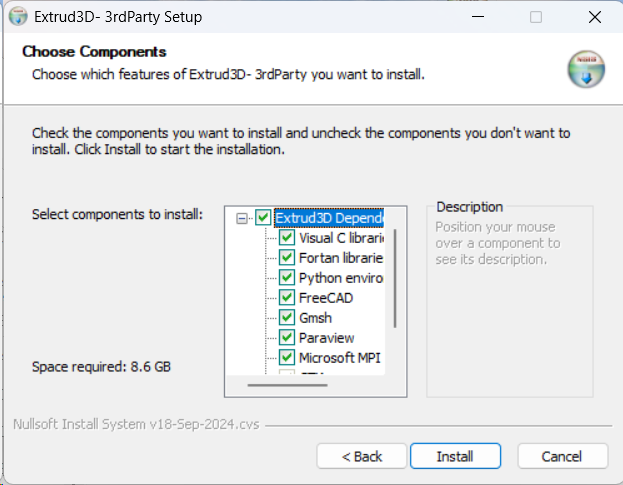
**Choose Components:** Dependencies (e.g., Visual C Libraries, Fortran Libraries, Python Environment, FreeCAD, Gmsh, Paraview, Microsoft MPI). Typically, **leave everything selected** and click **Install**.

Installation in progress

The setup extracts and installs the selected components.
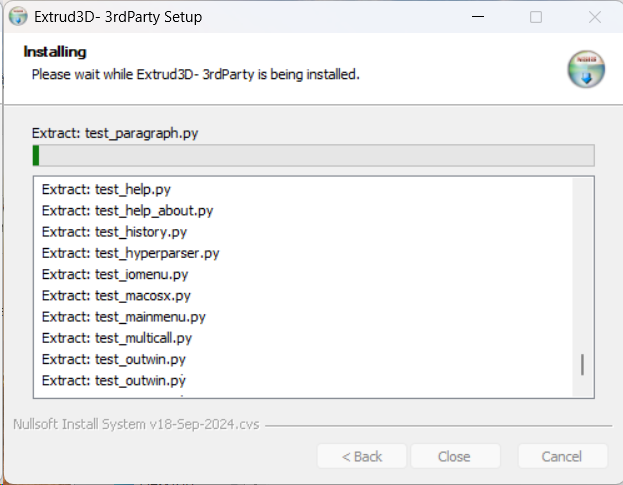
**Installing:** Progress display with extract/install logs (e.g., Python files). Wait until finished—no user input required.

Additional Installers

Microsoft MPI Setup

If Microsoft MPI is not installed yet, the Microsoft installer will start.
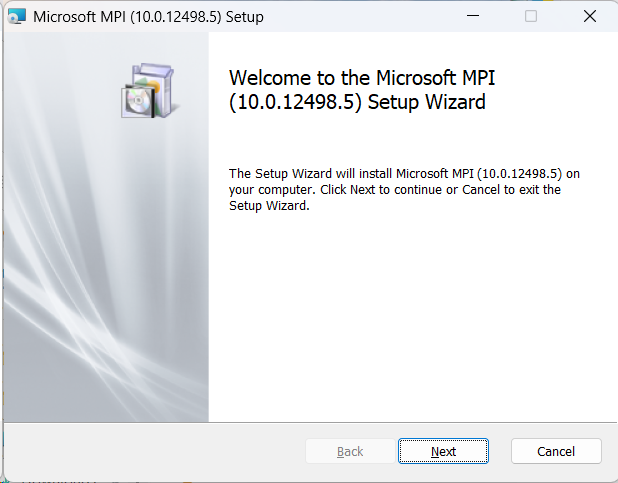
**Microsoft MPI – Welcome:** The setup wizard starts. Click **Next** to continue.

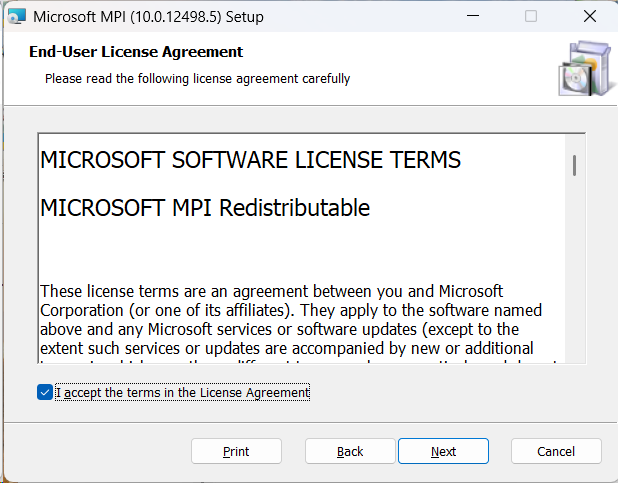
**License terms:** Check **I accept the terms…** and click **Next**.

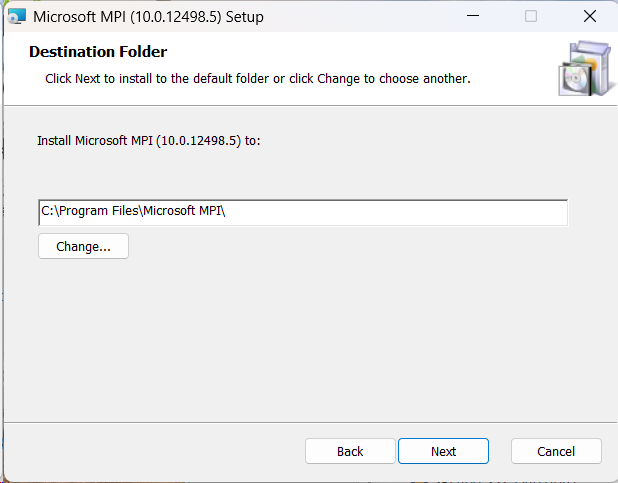
**Destination Folder:** Keep the default path (e.g., **C:\\Program Files\\Microsoft MPI**) and click **Next**.

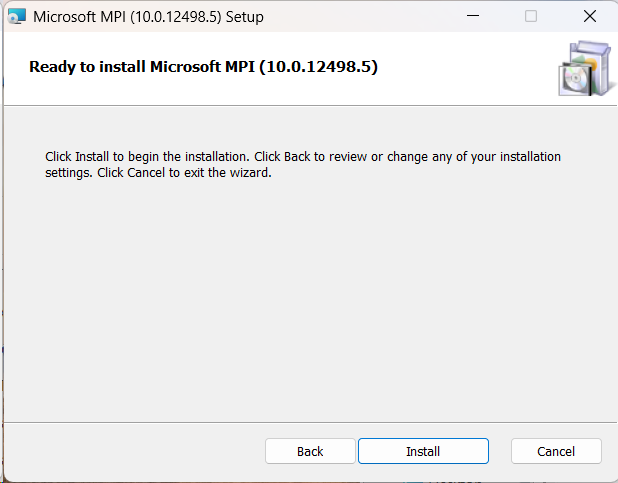
**Ready to install:** Start the installation by clicking **Install**.

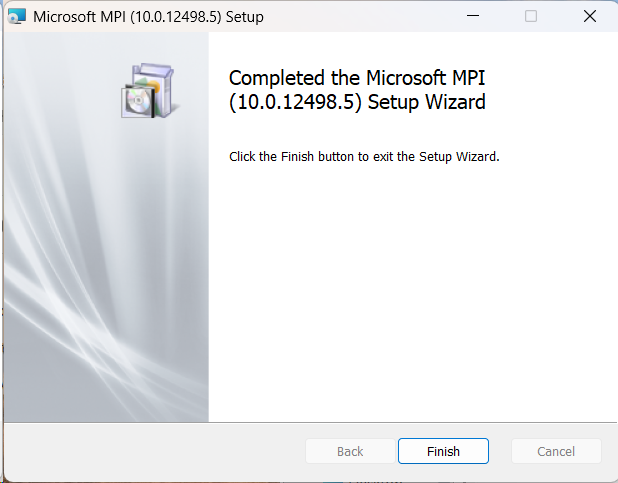
**Completed:** Microsoft MPI has been installed—finish the wizard with **Finish**.

GTK3 Runtime Win64 Setup

Extrud3D also requires the GTK3 Runtime to be installed.
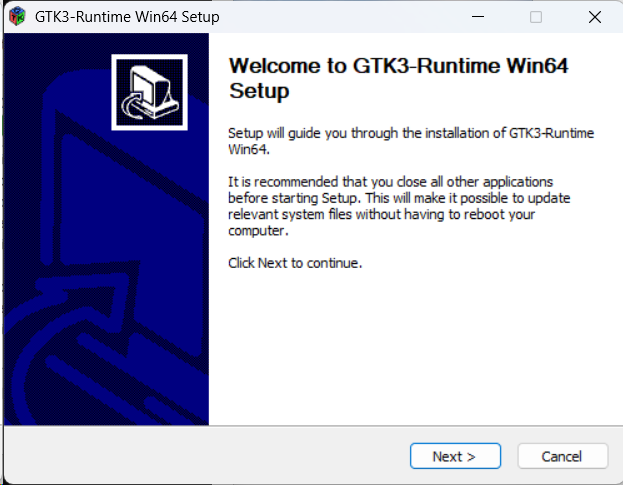
**GTK3 – Welcome:** The setup wizard starts. Click **Next** to continue.

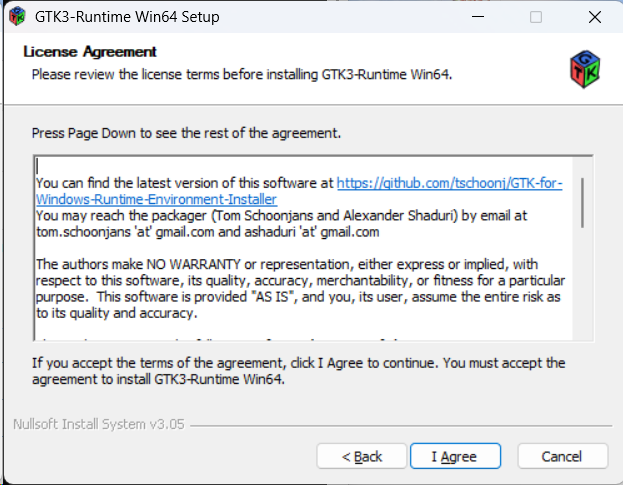
**License Agreement:** Accept the license by clicking **I Agree**.

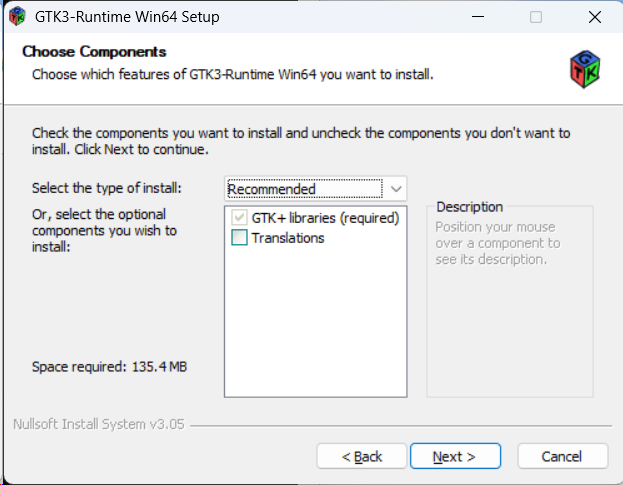
**Choose Components:** Leave the installation type set to **Recommended**. “GTK+ libraries (required)” is mandatory; “Translations” is optional. Click **Next**.

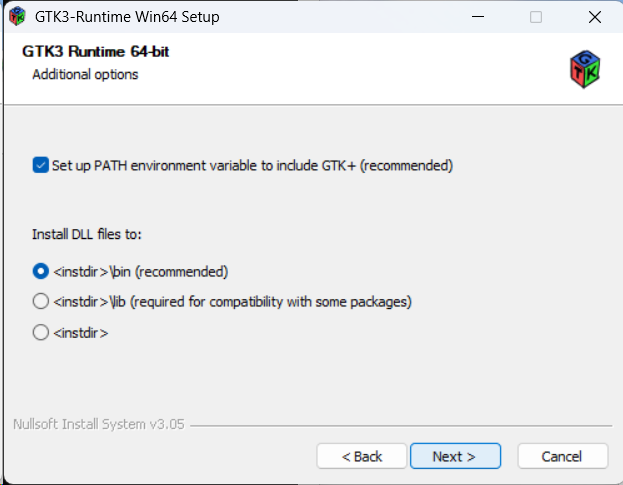
**Additional options:** Keep **Set up PATH environment variable…** enabled (recommended). Leave the DLL target as **<instdir>\\bin (recommended)**. Click **Next**.

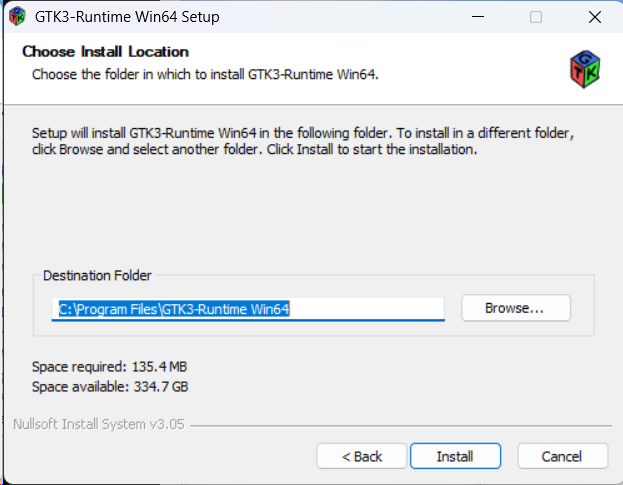
**Choose Install Location:** Keep the default path (e.g., **C:\\Program Files\\GTK3-Runtime Win64**) and click **Install**.

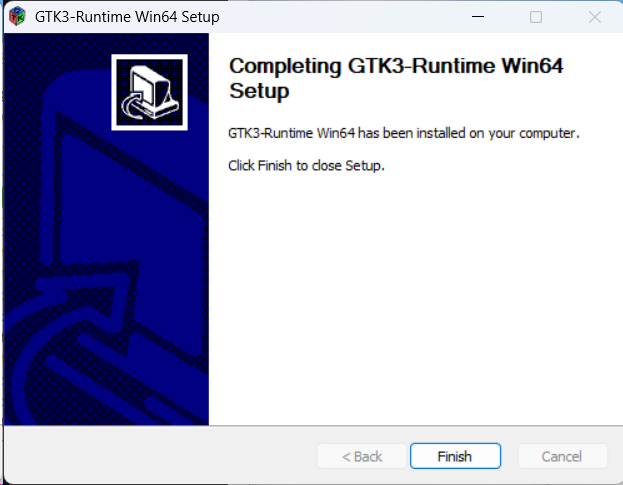
**Completing:** GTK3 Runtime has been installed—finish the wizard with **Finish**.

Podman Setup

Podman can be used as an additional component for future development in Docker containers. Depending on the system state, the installer either runs a fresh installation or shows a “Modify” dialog if Podman is already present.
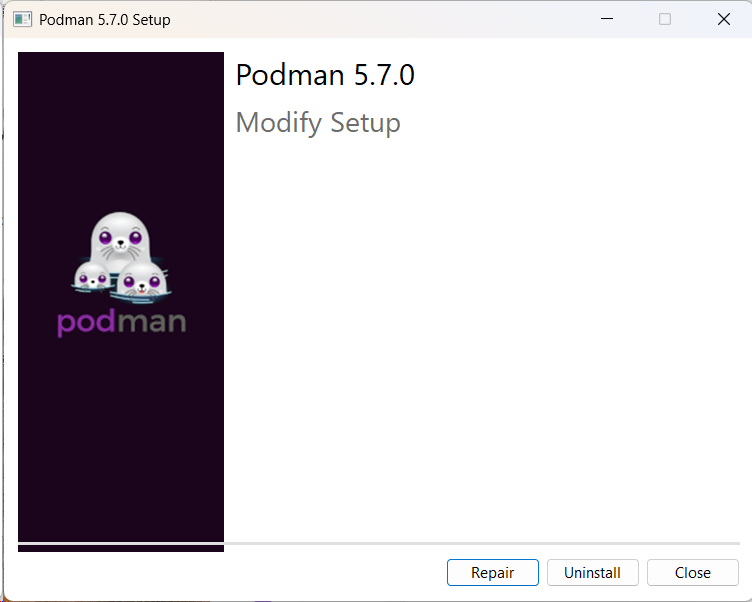
**Podman 5.7.0 – Modify Setup:** Podman is already installed. In this case, click **Close** (no changes required).

Completion

After the installation finishes, the Extrud3D 3rdParty installer reports success.
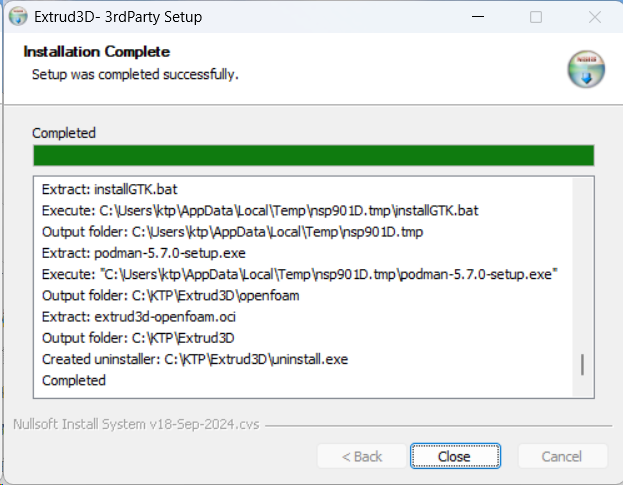
**Installation Complete:** Setup completed successfully. The log shows extracted installers and paths; the uninstaller is created, e.g. at **C:\\KTP\\Extrud3D\\uninstall.exe**. Close with **Close**.

  • The selected installation folder (e.g., C:\\KTP\\Extrud3D) has been created and contains the installed components.
  • Under Windows Apps & features, the following entries should now be visible:
    • Microsoft MPI
    • GTK3-Runtime Win64
    • Podman
  • Note: If the GTK3 option “PATH environment variable” was enabled, a restart and/or log off/log on may be required until PATH changes are effective system-wide.
en/installation_und_deinstallation/setupe3d.txt · Zuletzt geändert: 2026/02/24 14:03